Google Tag Manager: Getting Started with Basic Analytics Tracking
Posted in Search & Social
We just enabled our website, www.bigdaylight.com, to work together with Google's (fantastic) new Tag Manager tool. I'm a big fan of screenshots and step-by-step How Tos, so here's how we worked through the initial process. This first tutorial is focused on SIMPLE BASICS - just getting Tag Manager integrated with Google Analytics tracking.
1. Pick Your Google Account/Email Address
Be sure to choose a Google Account/ Email Address that YOU control to use as the primary account user. If you're an agency, don't set up an account on behalf of your client inside your own account. Instead, help the client create their own account, to which they can then add your email as a user. Google's official documentation about Users and Permissions, and Setup and Containers, has more information.
In our case, we went ahead and used the same email address for Google Tag Manager that we use to manage our own Google Analytics account for Big Daylight and FINE Design Group.
2. Create an Account
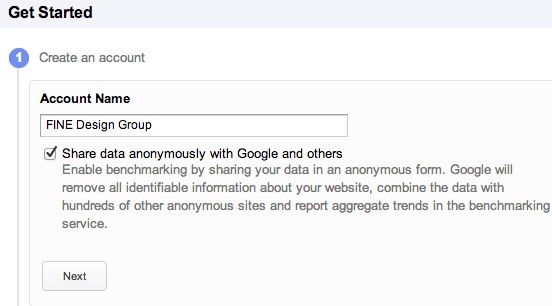
Click "Sign Up Now" from the Tag Manager home page, and you should come this screen. Enter in the name of your company. Don't worry - you can always change this later, but we recommend naming this something to reflect the main owner/parent company.
Our account, FINE Design Group, can then contain containers for our own websites (www.finedesigngroup.com, www.bigdaylight.com, and others).
3. Create a Container
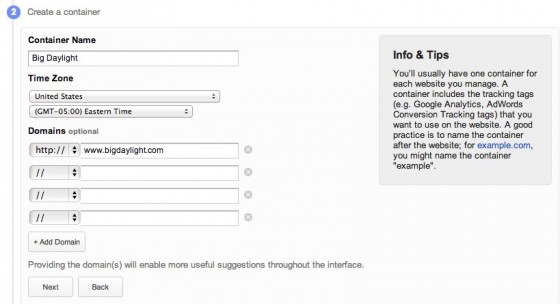
We're first creating a container for Big Daylight (www.bigdaylight.com). After initial setup, we can also add additional container for FINE Design Group.
4. Copy and paste your code
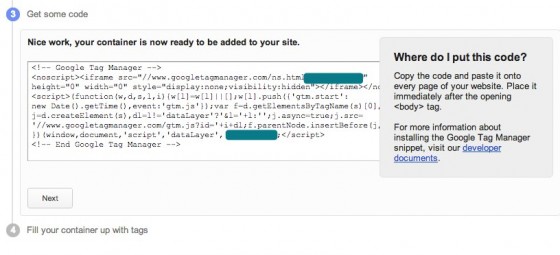
Next, just copy and paste the code and forward to your webdev to load to the site. Don't forget, this goes right after the opening <body> tag, and needs to be on every single page of your site.
5. Complete Account Setup
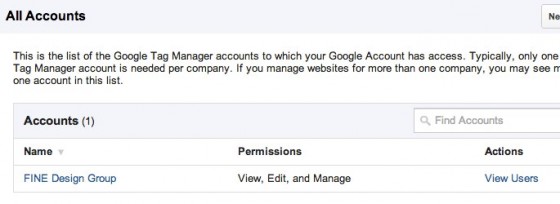
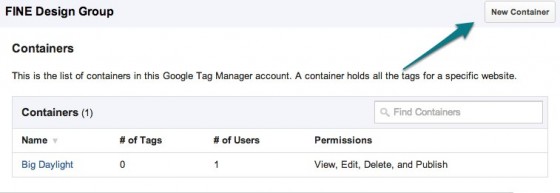
Once basic setup is complete, your homepage should look something like this. When additional FINE clients start to use tag manager and add us as users, we will also see them under our list of accounts.
6. Review Your Containers
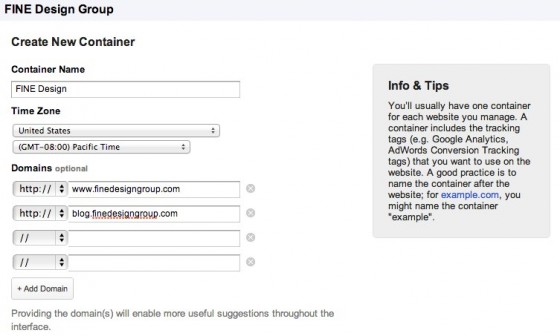
We already created a container for www.bigdaylight.com, but now we should also create one for www.finedesigngroup.com.
Because FINE also has a blog on the subdomain, you can see we are adding two domains to the container. Each container contains all the relevant tags for either a single domain, or multiple domains that utilize sub or cross-domain tracking between them.
7. Set up a Google Analytics Tag
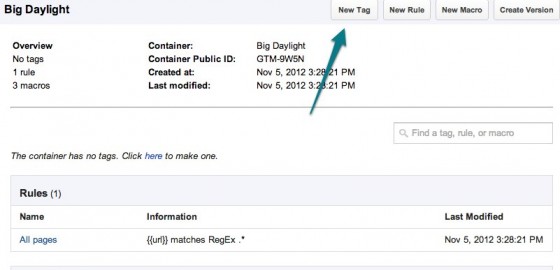
Go in to the correct container you'd like to edit, and click create a new tag:
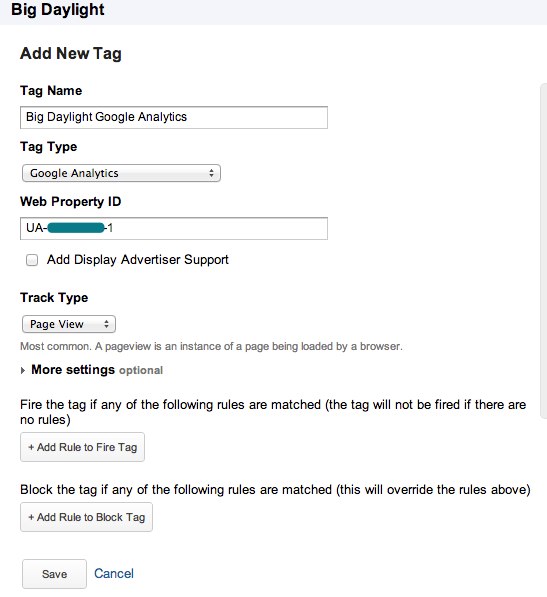
Here's where we'll set up the Google Analytics Tag:
- We named it "Big Daylight Google Analytics"
- Tag type is "Google Analytics
- We entered in our UA # (UA-########) under the Web Property ID
- The tracking type is Page View
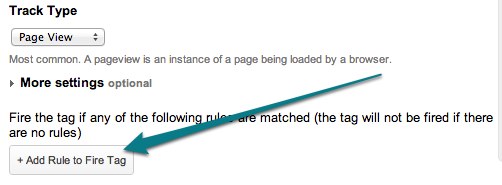
8. Set up a Rule for the Google Analytics Tag
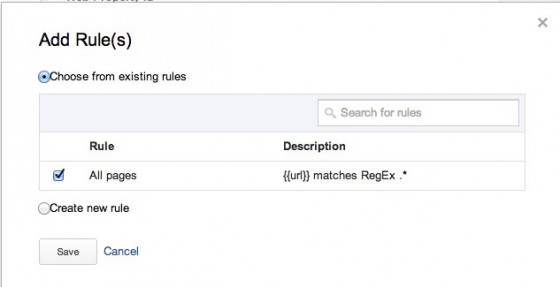
Now we have to set up a rule to make sure that the tag fires on every page:
In this case, all you need to do is just check the box so the tag does exactly that! Obviously, we want all pages to record visits in Google Analytics.
8. Testing 123
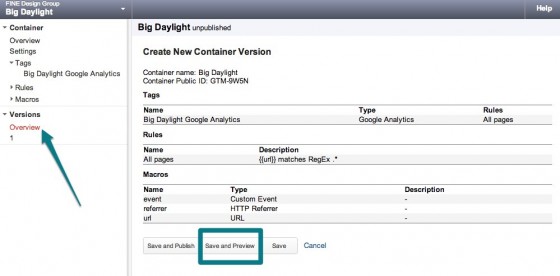
Google Tag manager has a Previewing and Debugging tool to help you make sure everything is working correctly before you publish. You have to go into Versions to check this out. Essentially what we want to do is Save and PREVIEW (not publish) this version:
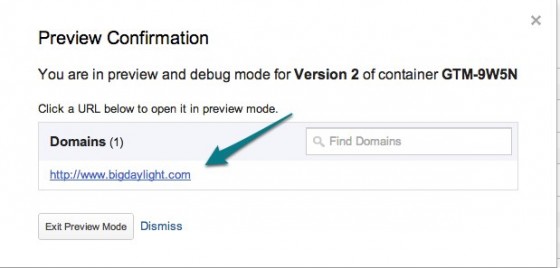
Go ahead and click on the domain name to view a preview of your site:
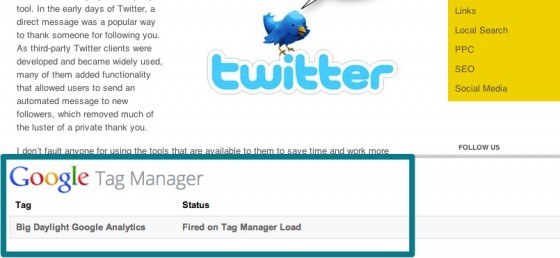
And voila. You can preview pages to make sure that the tags are correctly firing. And for bigdaylight.com, it looks like everything is working just fine:
After you have successfully previewed and debugged, go ahead and publish the latest version of your tags. We'll also need to inform our developers to remove the old Google Tracking code, since we don't want code loading two times on our website. That's it! Stay tuned for additional posts and how-tos about other aspects of this tool.
Written by Sarah Mackenzie
